They offer a few different colors and styles, I got mine with the gray face and red backlighting. I thought the red goes more with the GTO theme, since red is what Pontiac used the last few years. The new cluster fits perfectly to the original style bezel with just four screws. If I wanted to be freakishly anal, they send phillips screws instead of 1/4" hex head screws. Oh well. I left the original in the top picture so you can see the difference in style. I have to admit I love the styling of the '65 gauges, and am a little disappointed the DD looks so plain beside it. It would have been just too much trouble to get the originals to work. Perhaps they are worth something, since I have the more rare SS package with the center tach. For those taking apart a dash, take a look around for help on how to remove the switches. There is a special tool for all of them; I used a pair of snap ring pliers for the headlight and wiper switches that worked very well. For the ignition switch, use a small screwdriver, turn the key to accessory, push in the screwdriver in the small hole until it goes in a long way (not just pushing down what feels like a spring) and the lock mechanism pops out. This is the only way to remove the retainer ring. They are expensive to replace if you choose, so don't get frustrated like I get and take out the channel locks!

And then there is the electronics to make this all work. In '65 there were no simple computers - now I have one to run the engine, the two below to run the dash and ignition switch, and there will be a couple more under the seats for the heaters. More computing power than Apollo, as a friend put it. I'm more than a little scared about hooking this up, but hopefully one wire at a time and I will get there. The starter kit is from Advanced Keys, right now I just have the push button. I still need to get the RFID system added so no one can jump in and start up the car without a key. Not a big deal, but it is another system to wire in!

The final product is below with everything installed (except the radio). I used the original switched and am hoping they are all in good working order. You can get replacements for the headlights and lighter, but I couldn't find anything for the wipers. They all cleaned up very nicely with a little polish and elbow grease. I still need to either polish the key guard or get a new one. For the start button, I had to use a rotary tool and grind away almost all of the opening behind the dash (out to ~34mm). The switch is 40 mm in diameter and barely fits in the opening, if you try this be forwarned you will need to start cutting into the outer bezel ring on the dash just ever so slightly. I really like how it all turned out. The push button switch is extra, but I love not having a key for my Infiniti. I haven't found a radio I like yet, so I'm hoping that in the next year someone comes out with something a little nicer that will fit without cutting.

My biggest challenge, was getting a good bezel. The first one I ordered from OPGI came with many scratches to the surface. The packaging was perfect, so it came from the manufacturer that way. The second also had a few scratches you can see on either edge, but better than the first so I decided to keep it. The mold lines are not as crisp as the original dash. If I wasn't dead set on the chrome look, I would paint the original silver and chrome leaf the outer edge.
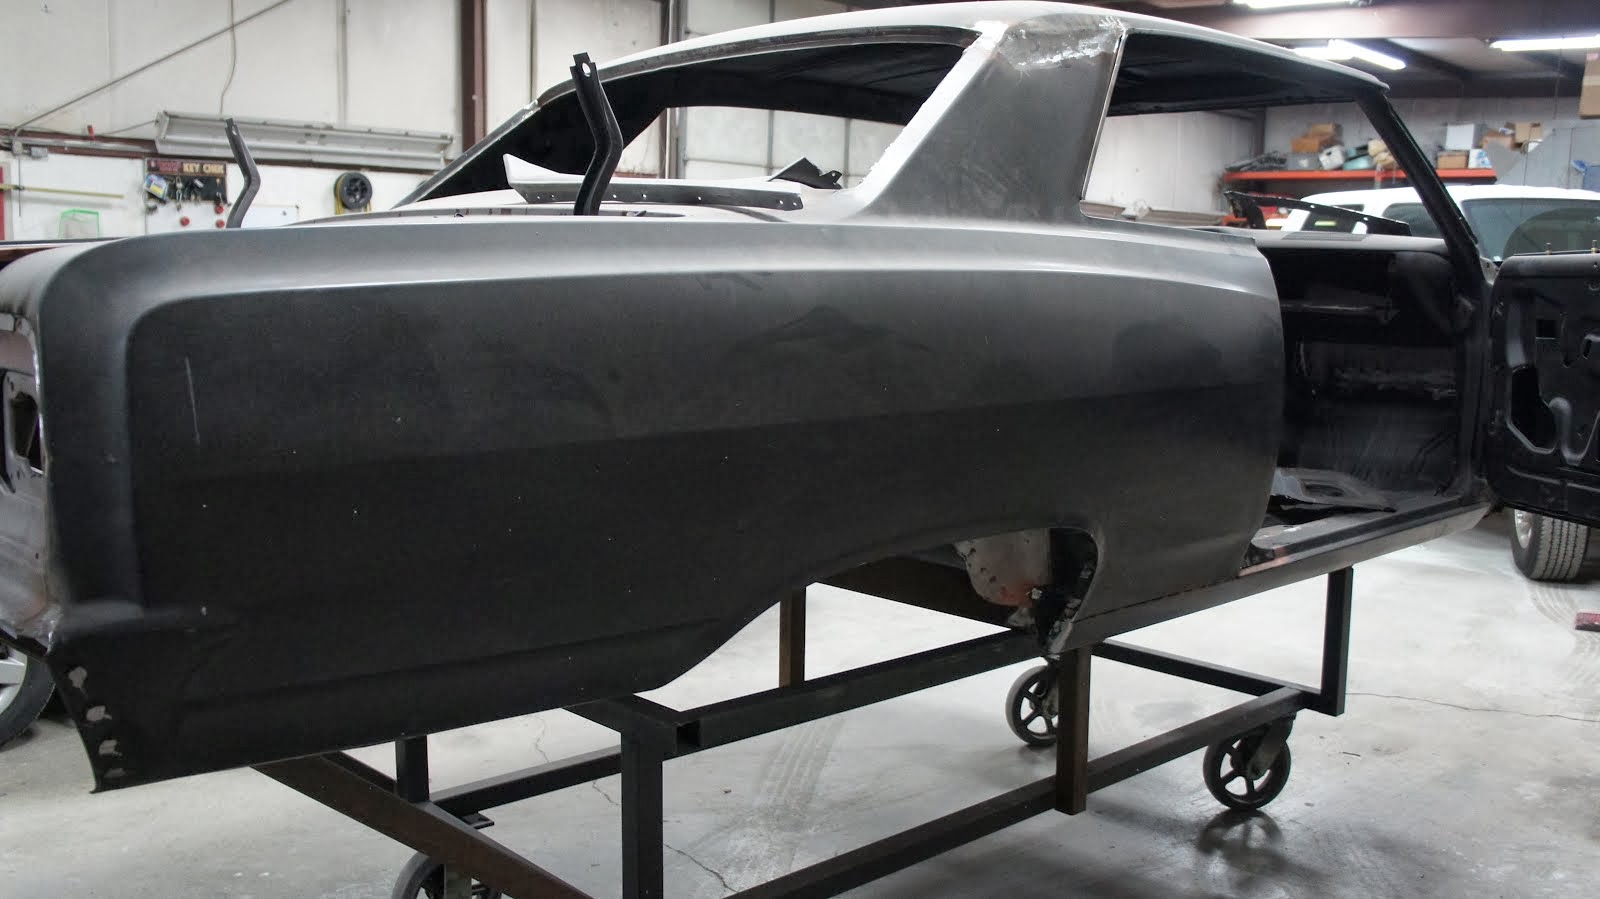
I'll leave with one last picture we found from 1965. Take a careful look if you miss it - the Chevelle is in this picture! You can see the motor behind John, and the body with the doors, fenders, hood, and the ROOF missing. Absolutely incredible to me. If you count the factory, my restoration will be the third time this car has been built from the ground up with almost all new parts.
