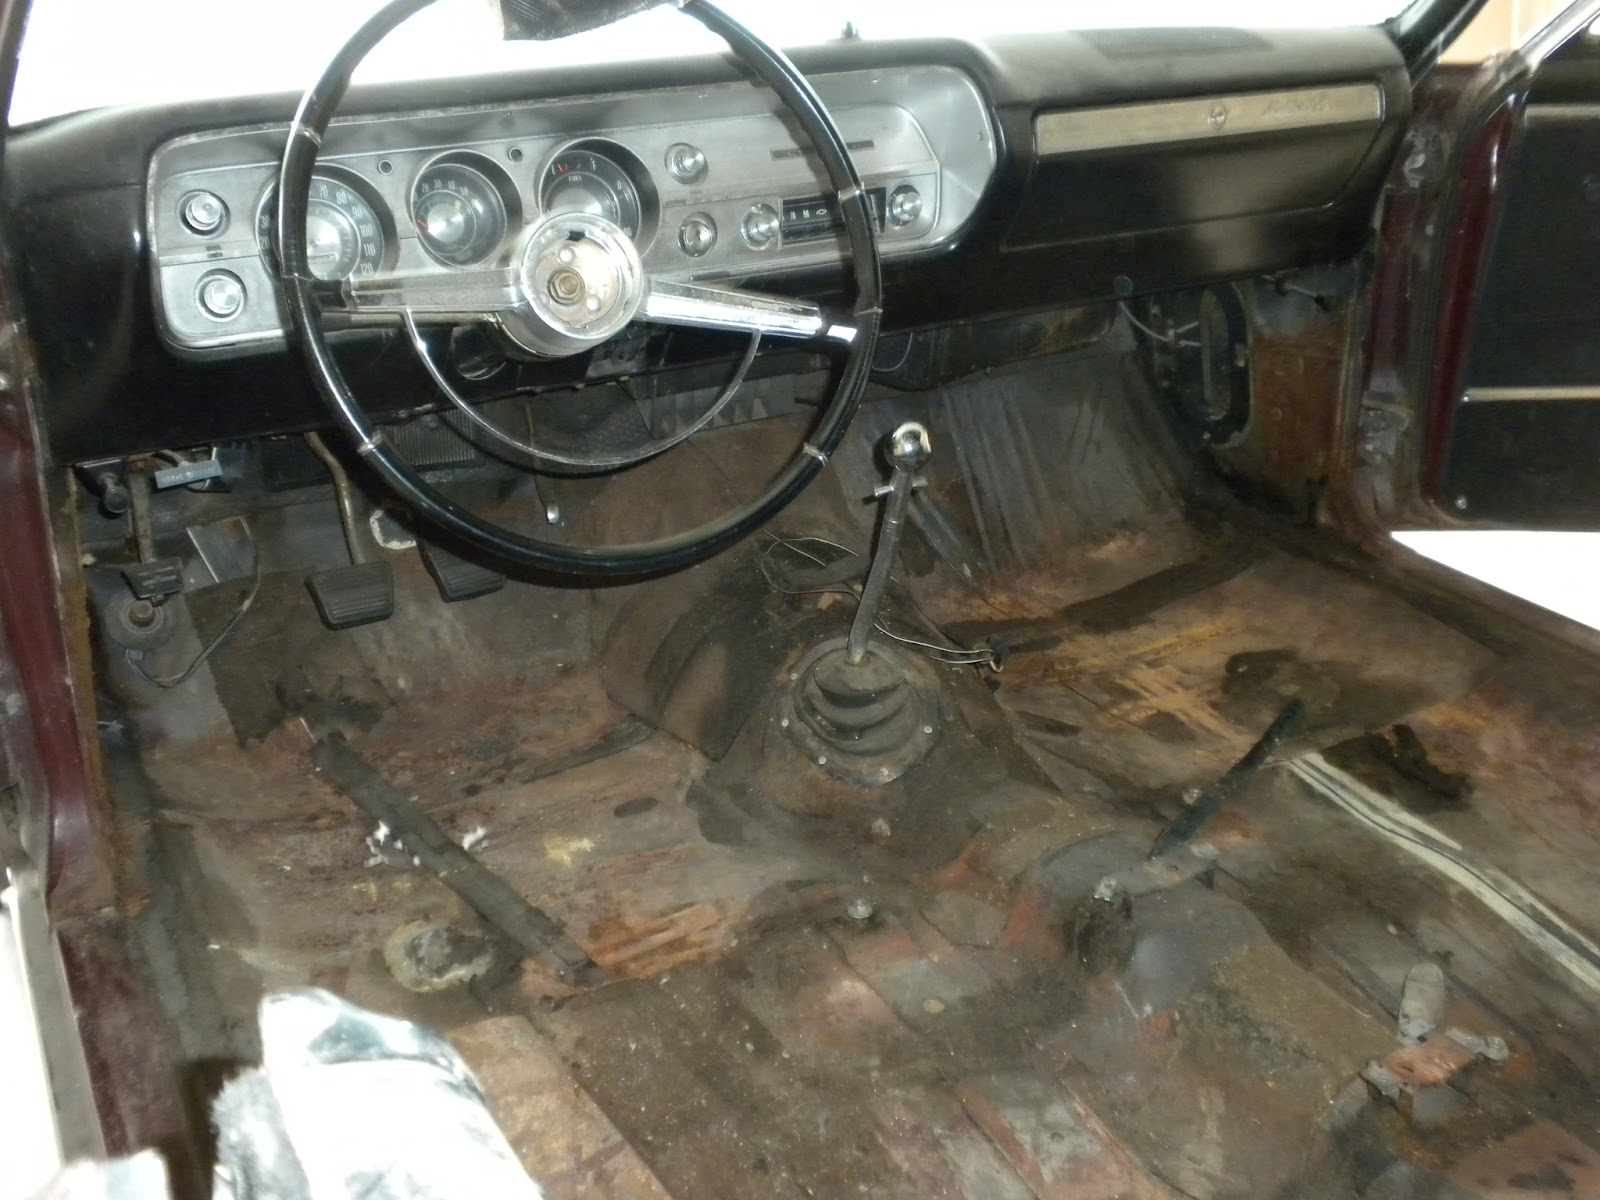
A few weeks back I gave a preview of the 2008 Ford Taurus seats I purchased to go in the Chevelle. Why new seats? Well, they are heated, power, leather, have headrests and don't flop forward. Safety. And I must say they are very comfortable. We found ourselves sitting in the seat in the living room watching television instead of sitting on the couch. The scary part for me is the wiring - there are computers for the airbag/active restraint system, seatbelts, seat memory, heater, and all power adjustments. I did get a wiring diagram for the passenger seat, but still need one for the drivers seat before I can put it in when the body is ready. First pictures give you and idea of what I have to deal with. Overall not a lot of modifications needed to make the seats work, but by no means a direct bolt in. The seat position sensor (middle right) has to go; there isn't room for this the way I chose to mount the seats.


The solution - cut off the foot. Below is the passenger side, for the drivers side I cut it more at an angle with the front taller than the back. This seemed to fit the contour of the floor a little better, but may have dropped the seat a little too low.

To get the proper mounting to the floor, I welded a nut to a piece of steel (leftover from the trunk pan where it mounted to the frame) and bolted that to the floor. This way I know that the bolt is lined up. Next the seat was placed on top, and the rear bolted in place. Factory holes lined up for both of the rear seat bolts, they just needed drilled so I could change them from a stud to a bolt through the floor. Confusing, but if you are doing a swap, it will make sense. With the seat in place I put a few tack welds on the plate, and took the seat back out.

With the seat on the bench, and the plate tacked on, I could finish weld knowing the mounting plate was in the correct spot. Below you can see what the finished plate looks like welded in place with the mounting nut. I used nuts in front, because with the foot design I used there is no way to get a wrench in place. I have no worries about the strength of this part.

The plastic trim was now too long to fit with the seat sitting flat to the floor. Both sides needed the portion that sticks down cut off. A little Dremel time and you really won't know. It should sit right on top of the carpet when finished.

There was also a mounting stud at the back of each track that needed to be removed, to allow the seat to sit flush. Here it is cut off, just forward of the rear two bolt holes. I suppose one could have drilled holes in the floor for the mounting studs to sit to help align the seats, but then there would be more holes in the floor. Easier in my opinion to cut them off rather than put more holes in the floor.

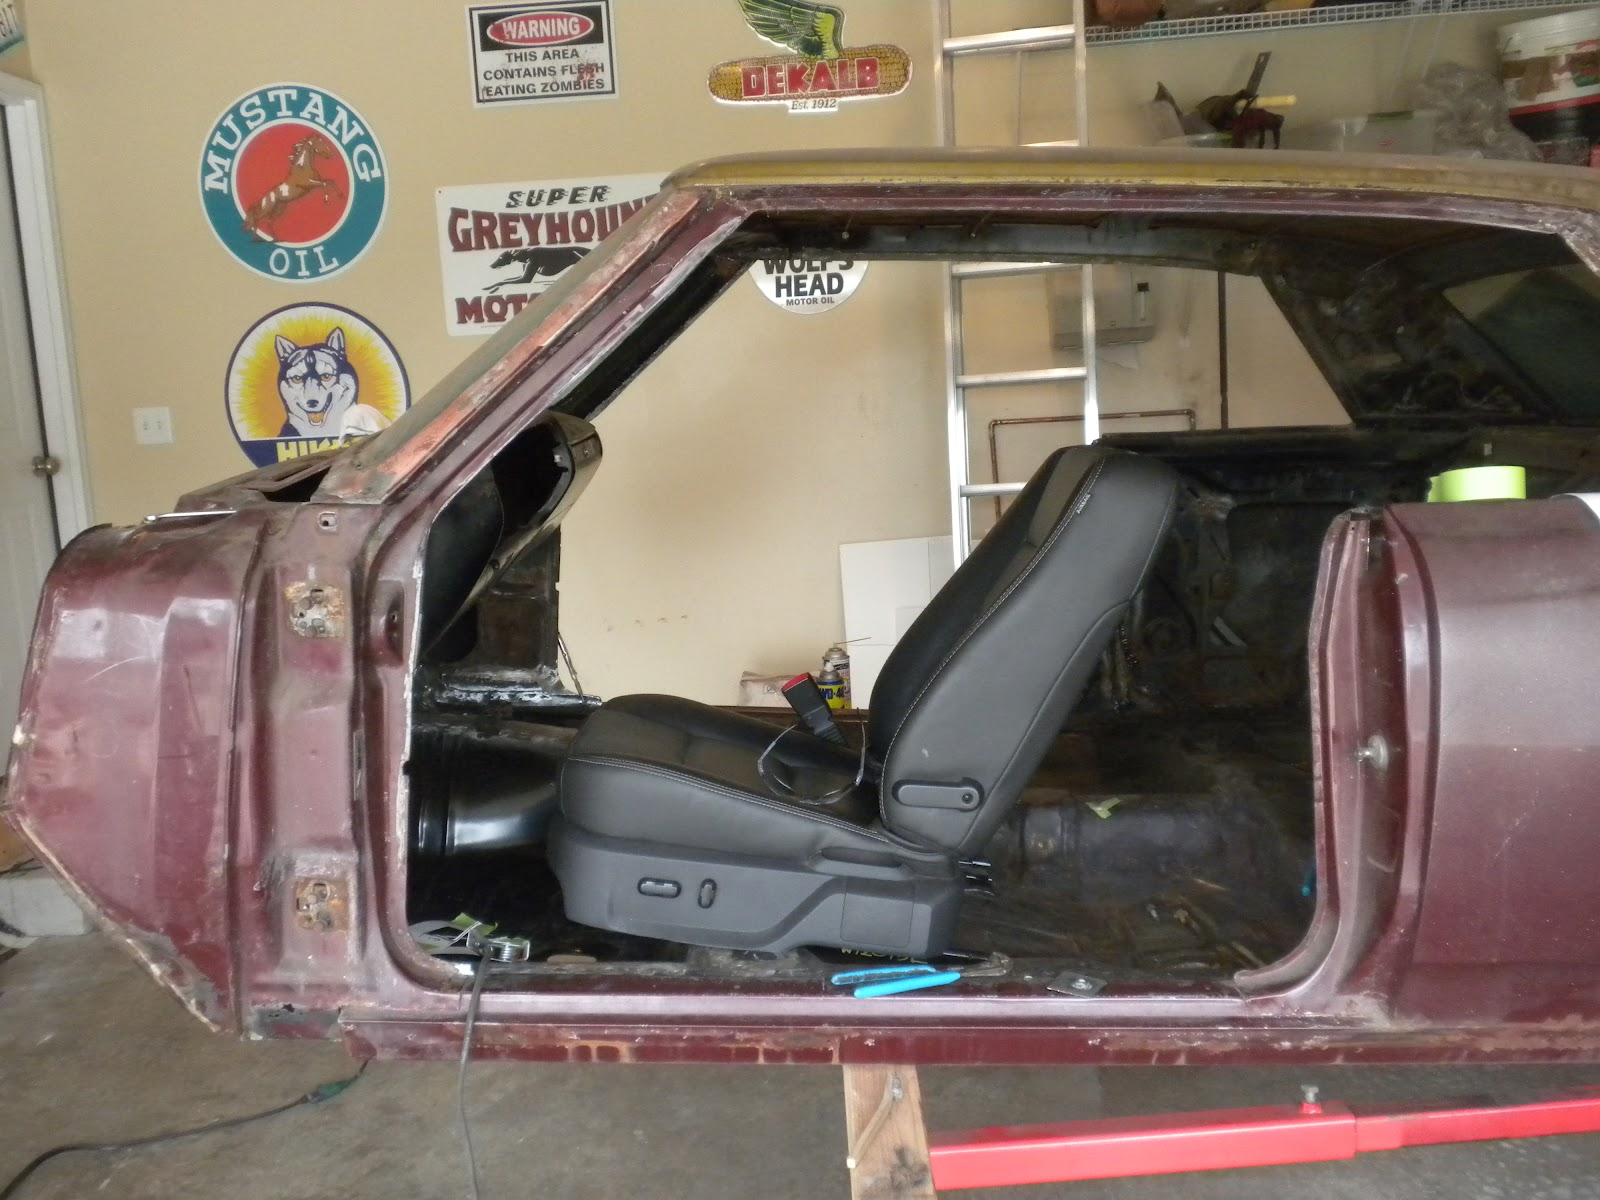
And, the final product. First picture has the seat all the way forward, easier to get the rear bolts in. Second picture has is part way back, about perfect for where I would sit. It was good to fit it in both positions, to get an idea of where to cut the plastic trim since the seat drops down as it goes back. The seat does have a height adjustment so I could lift it up if it sits too low, but I think it will be good. Eyeline is just above middle of the windshield, and probably enough room for a helmet between the top of my head and the headliner. The headrests are off now to make it easier to fit, but will be on when I drive it. I think the boxiness of the Taurus seats fits well with the style of the '65. The steering wheel is centered perfectly, and the shifter falls in a nice spot beside the seat.

Token picture of the passenger side. A very close look will notice the plastic trim isn't cut yet in this picture, and is holding the front of the seat up.

Next project is to get the body back on the frame, bolt it down, and fit the center console. For kicks we sat it into place over the new shifter hole. It sits nicely about 8" back from the original position. Only problem is the shifter boot is offset to the left, notice that you can only see about half the opening below the console. I either need to get an offset shifter and move the hole, or try to mount the console farther right. There is room, but I refuse to cut up the console since they don't make reproductions of this part. The easy option would be to get a late model console with the shifter in the center. This might also give me cupholders and center storage bins, but easy doesn't seem to be my way of doing things. Maybe I need to get over this, but the stock console looks so good in there.