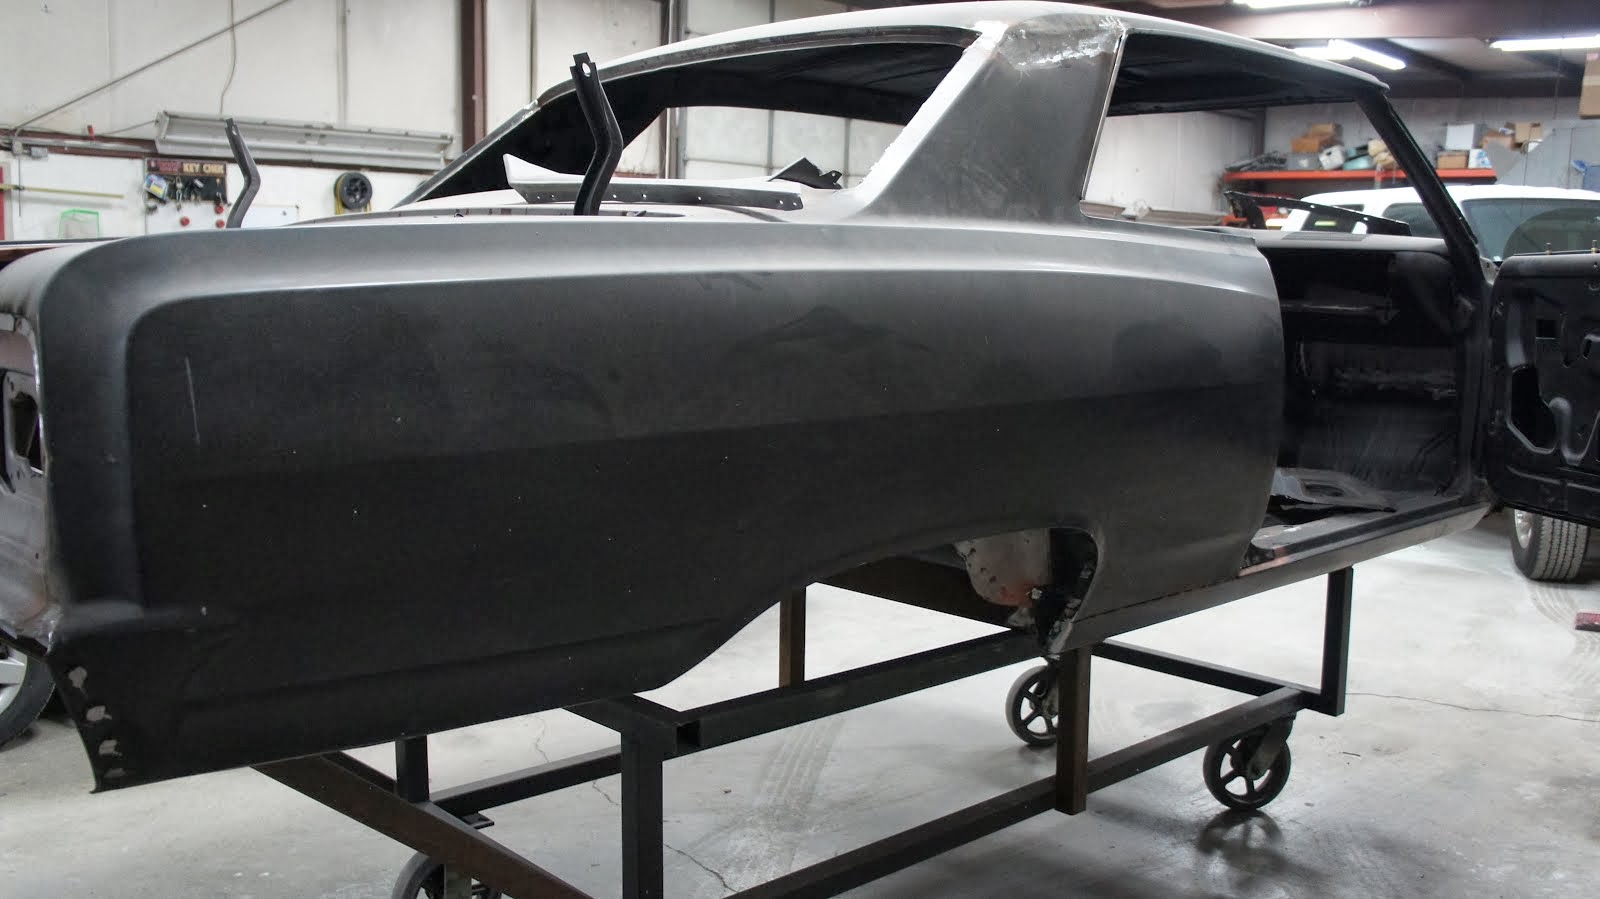
With the Daytona 500 in rain delay today, I had a chance to get back out to the garage and finish up the trunk pan in the Chevelle. It feels good to have this part done and checked off the list. Today's blog is more pictures of the process so you can see how we decided to do the floor. After talking to several different people, I decided to piecemeal the floor back together. If I did this again, I probably would have replaced the whole floor, rather than just up to front edge of the trunk. I do think we did the right thing by leaving the original inner fender wells, even though they had to be pieced together where there was some rust where it connected to the trunk pan.
In this picture, you can see the repair and the passengers side where I replaced the edge of the inner fender well.

The bottom corners of the inner fender wells were rotted where they attached to the trunk pan, so they needed replaced. I formed this from 16 gauge sheet steel and patterned it off what was left of the original. The first picture is what I started with, showing in the next two what was replaced.


Here you can see the repair of the passenger side wheel well from the inside.

The drop downs (where the trunk attaches to the quarter panel) were in perfect shape, but suffered a little damage when we cut out the old floor. A little patchwork and they are as good as new, without worries about whether a new part was in the right place.

On both sides, the brace under the front of the trunk to the frame was rusted at the ends that attach to the inner fender. It is this mess that left me wanting to replace the pan including this brace. The brace was fine, so I welded a patch over the opening. It should be plenty strong, since it is now welded solid rather than spot welds.

I cut the trunk floor up to just where it bends down into the pan. The full pan includes the part where my welding helmet is sitting. I used the lip to weld the new pan to.


With a full pan, you can't slide it into place with the quarters on the car, so we had to get a little creative. The edges of the pan were folded up, so we could lift the pan into place. With the pan fit, we hammered the edges back down, and spot welded them to the drop downs. It was all I could do to not fully seam weld the trunk in place, but I resisted and did it with spot welds. I think it will be strong enough.


The rear edge of the trunk floor welds to the drop downs, and supports the rear of the car. We had to do some hammering of the inner fender wells to get the trunk to slide forward, and both side were spot welded using the holes I punched in the flange. We made the distance from the pan to the rear edge of the drop down the same on both sides, although from the top, it looks like the drivers side should sit farther forward about 1/4" to 1/8".


After the rear and sides were fit well, I went to work on the front edge of the trunk. We started welding it from underneath, since the two parts wanted to flex apart if you tried to hammer on them. A few spot welds from underneath allowed us to hammer the edge together, and it was welded seamlessly across.


Here you can see the welding process from underneath -

And, the final product. The braces, although very hard to work around, kept everything perfectly aligned so the trunk gaps are exactly where they need to be. The inside edge of the trunk floor was welded by laying inside the car and reaching through the back seat. Not a very ergonomically friendly position to weld in. The welds are all ground flat, and a little coat of putty over the top and it should look like original. Next step is to get the frame back and finish the floor above the transmission.


